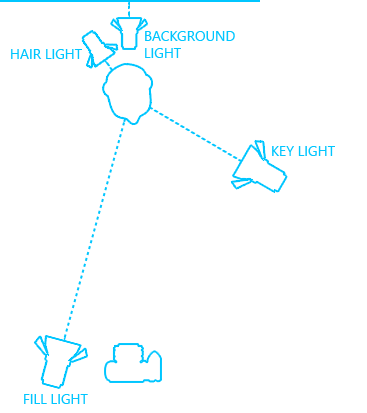
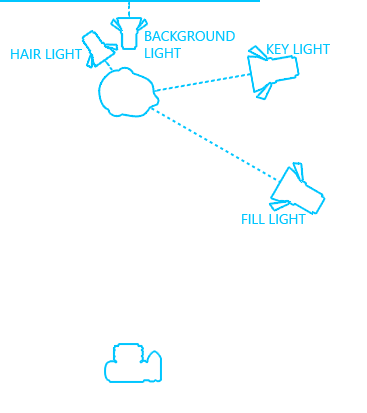
The lighting setups shown on this page describe different lighting situations photographers may use in studio or outside to properly light a subject for a portrait photo. Note that those setups should serve more as guidelines, not as strict rules. This is also why angles of different lights are not indicated: it doesn't make sense to put a light exactly at 30°, and to consider that putting it at 25° would be wrong. The illustrations don't make a difference between hard and soft lights either; experiment with both to see which ones are suited better for a specific situation.
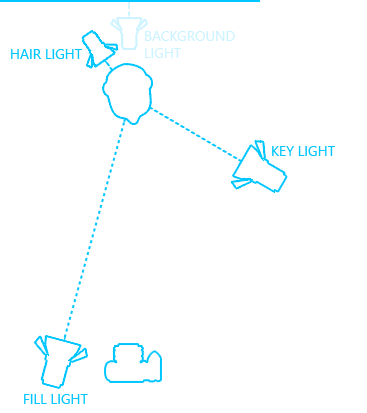
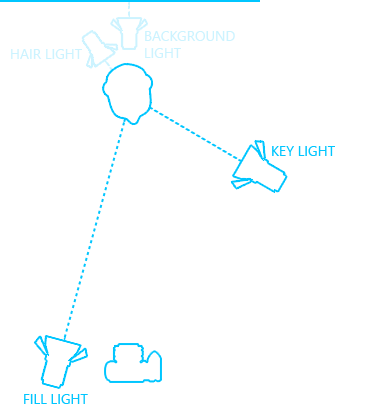
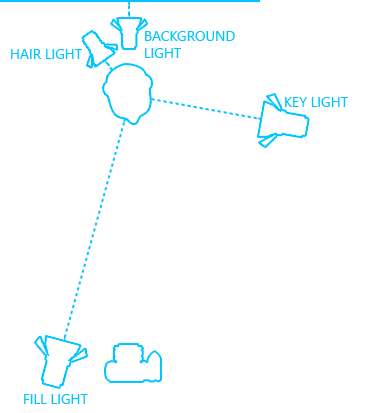
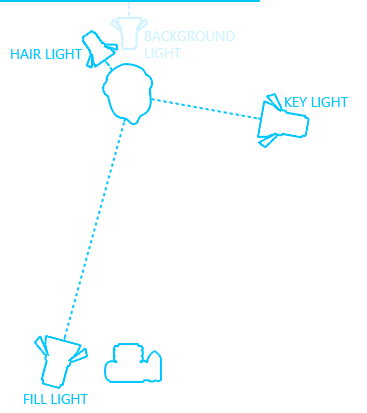
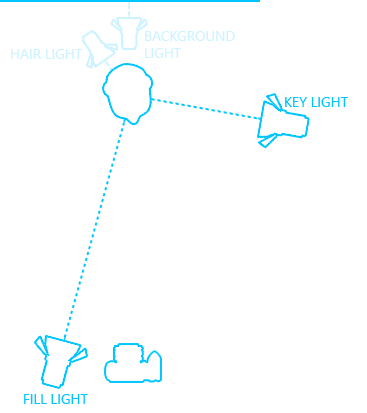
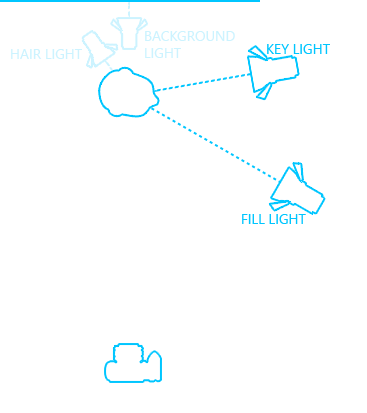
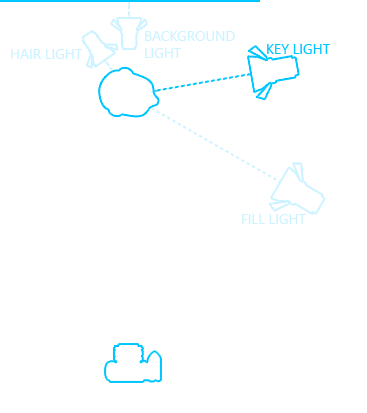
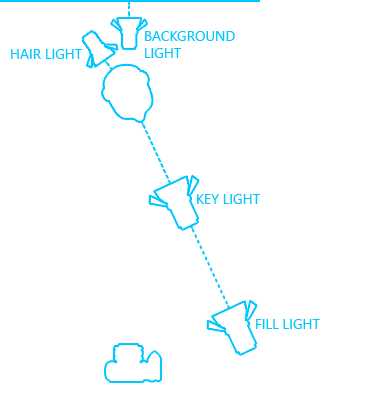
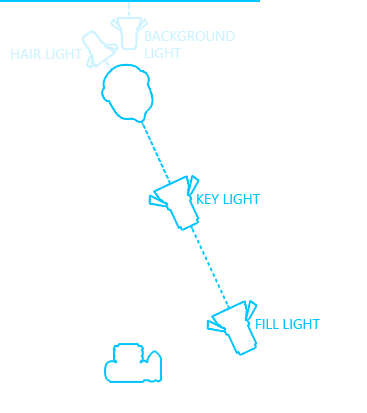
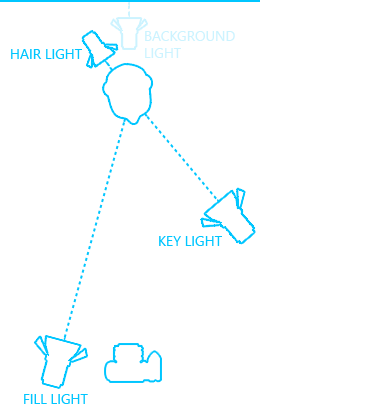
The illustrations use four lights. For some shots, the key light is enough, but other shots may require more lights. To lighten the dark parts (especially on the face of the model), one or more fill lights may be used. To separate hair from dark background, hair light can be added to the setup. In order to separate enough the person from the background, use one or more background lights. Finally, reflectors may be used for additional lighting.
Note that in the illustrations, the key light is always on the left. In reality, you need to put the key light on the same side as the subject's dominant eye—the one which looks more open, if any. Another element to take in account is where the person's hair is parted: watch for the shadows hair may cast on the model's face. When choosing the side of the key light, beware of the glare on the eyeglasses too.
Loop lighting
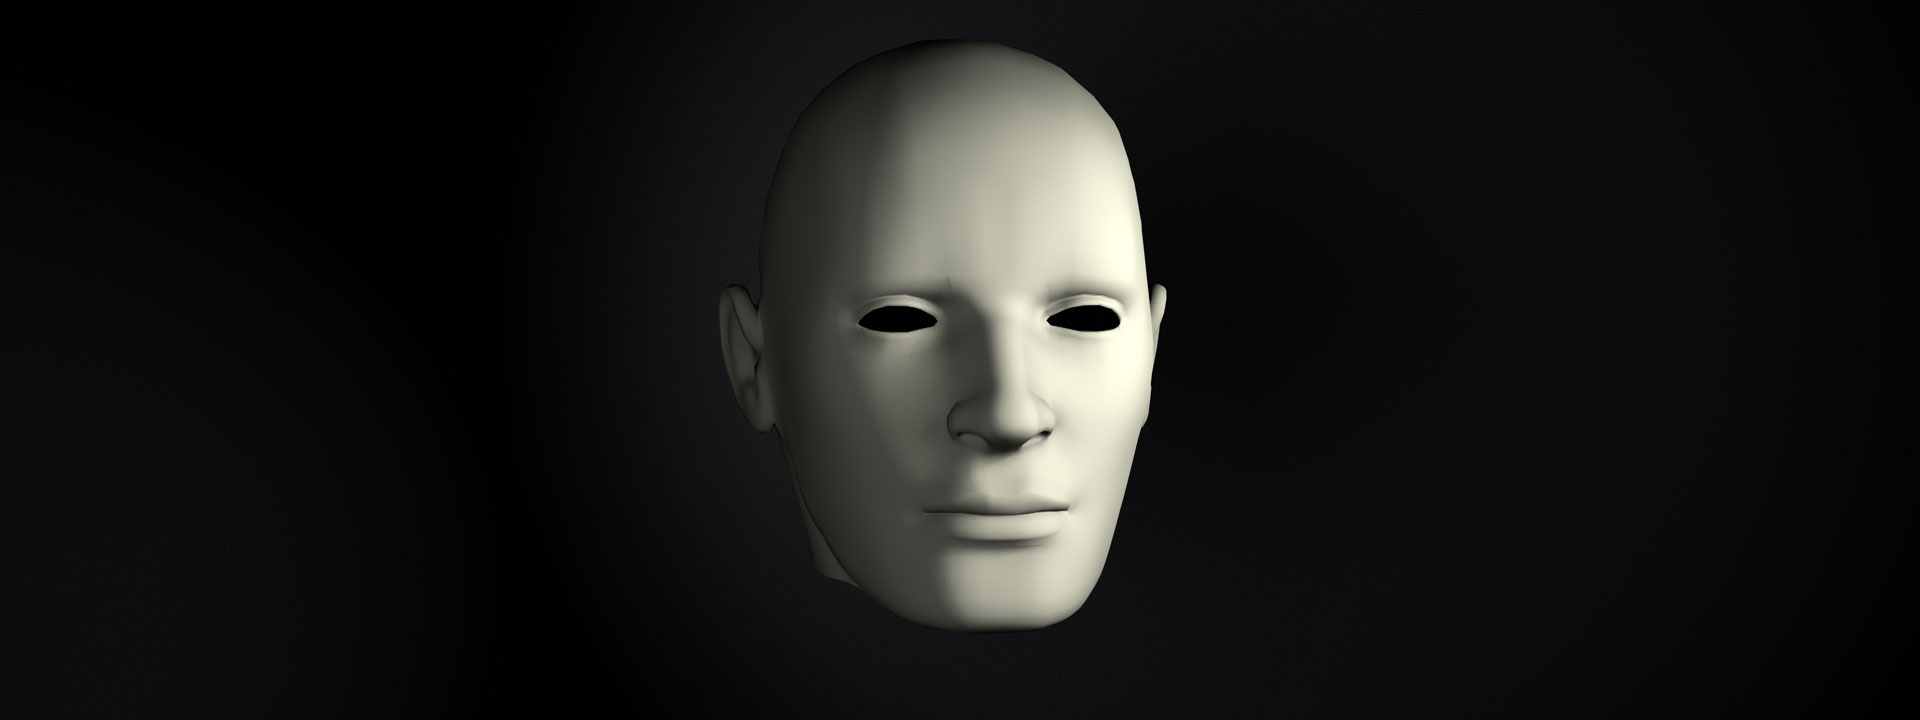
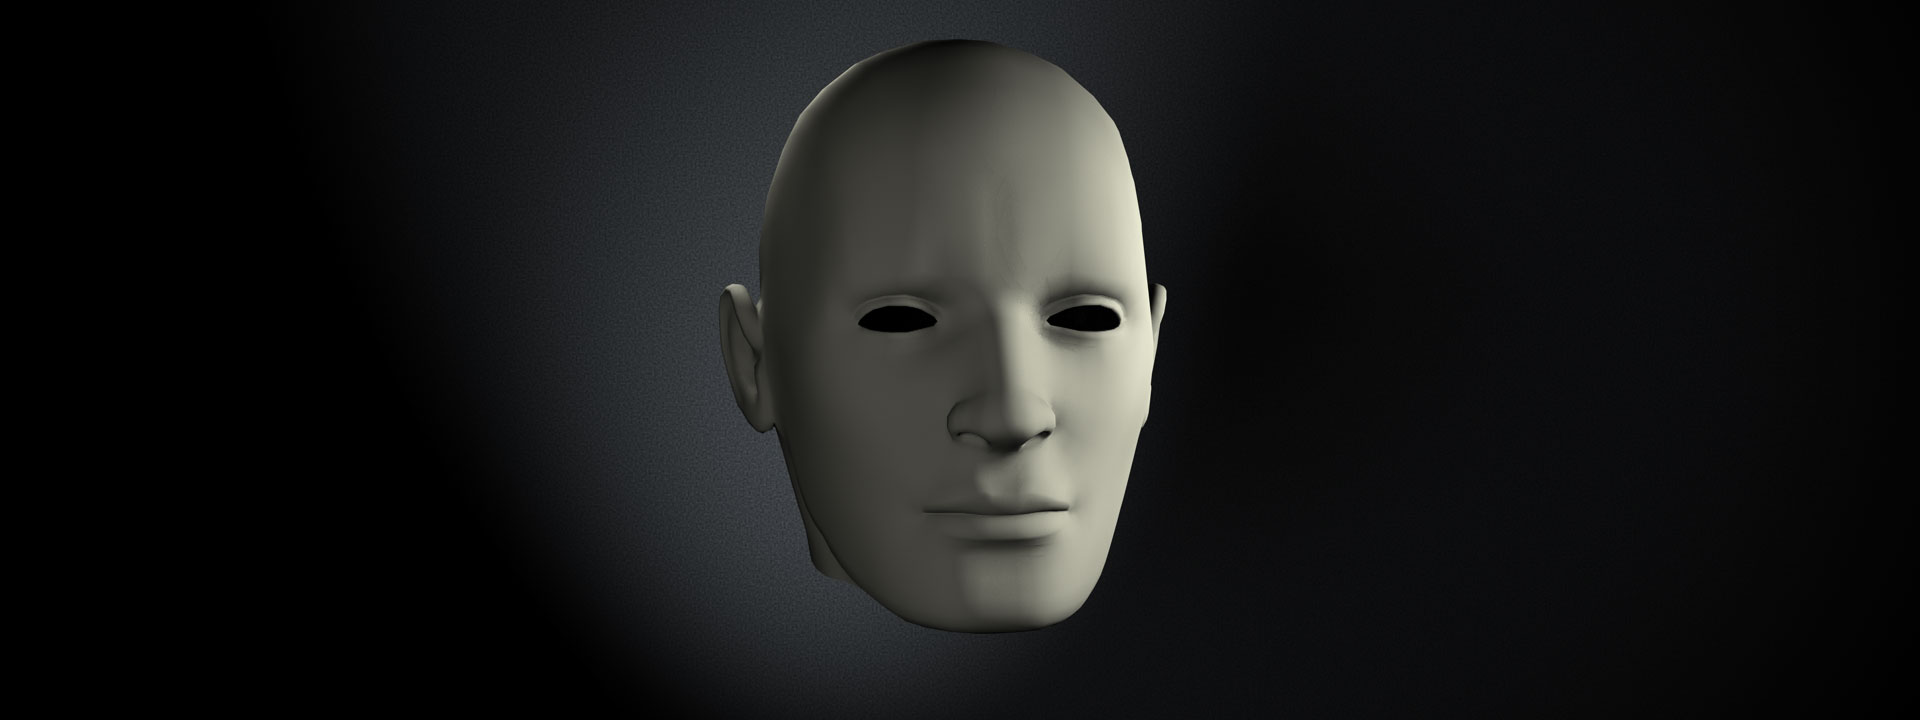
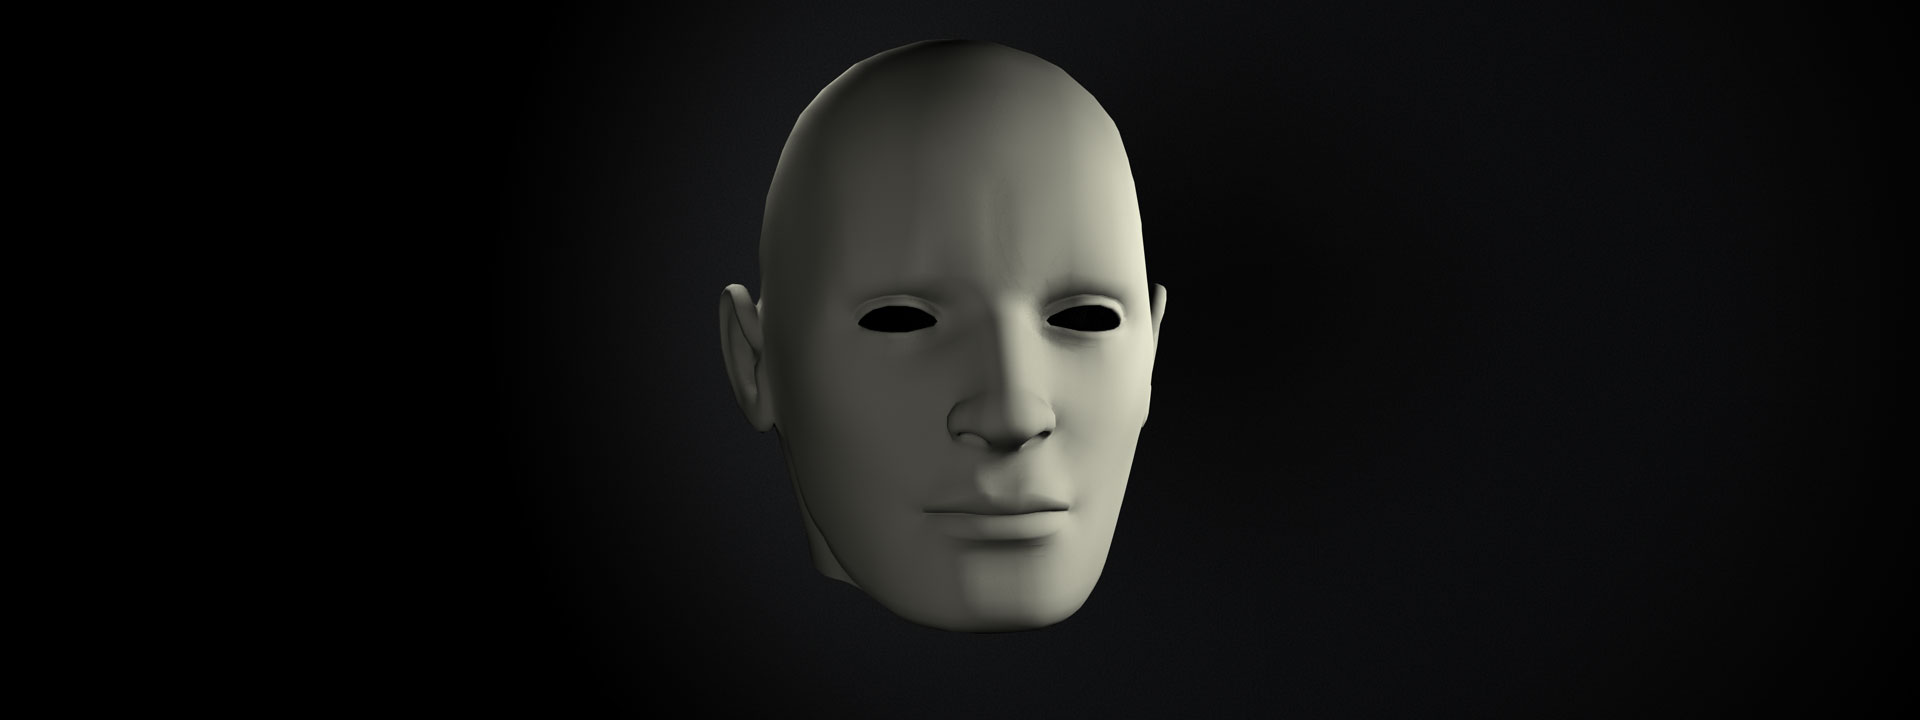
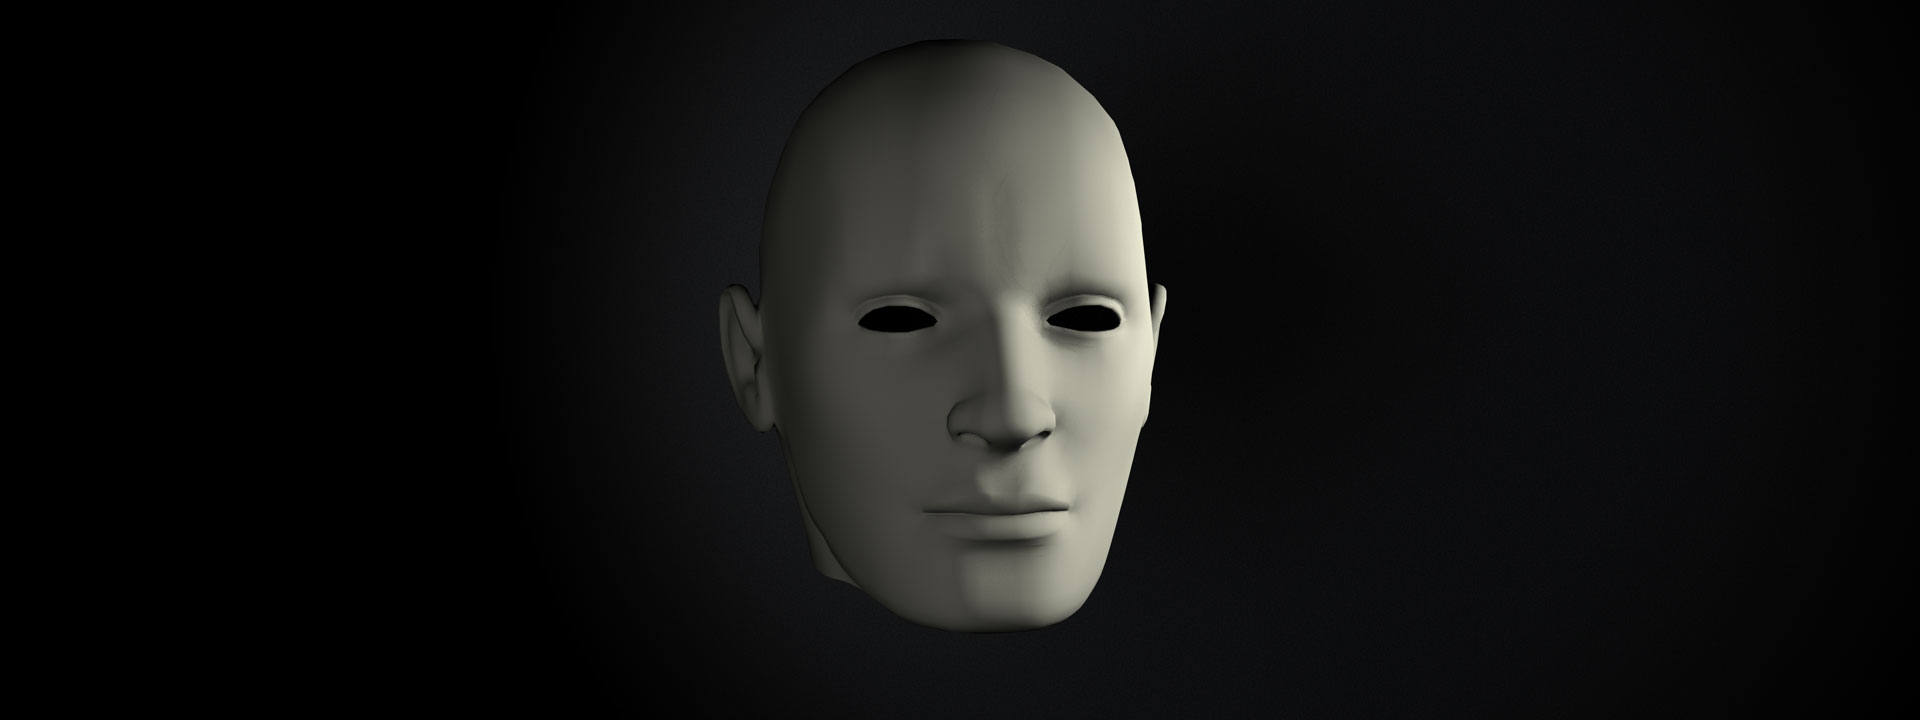
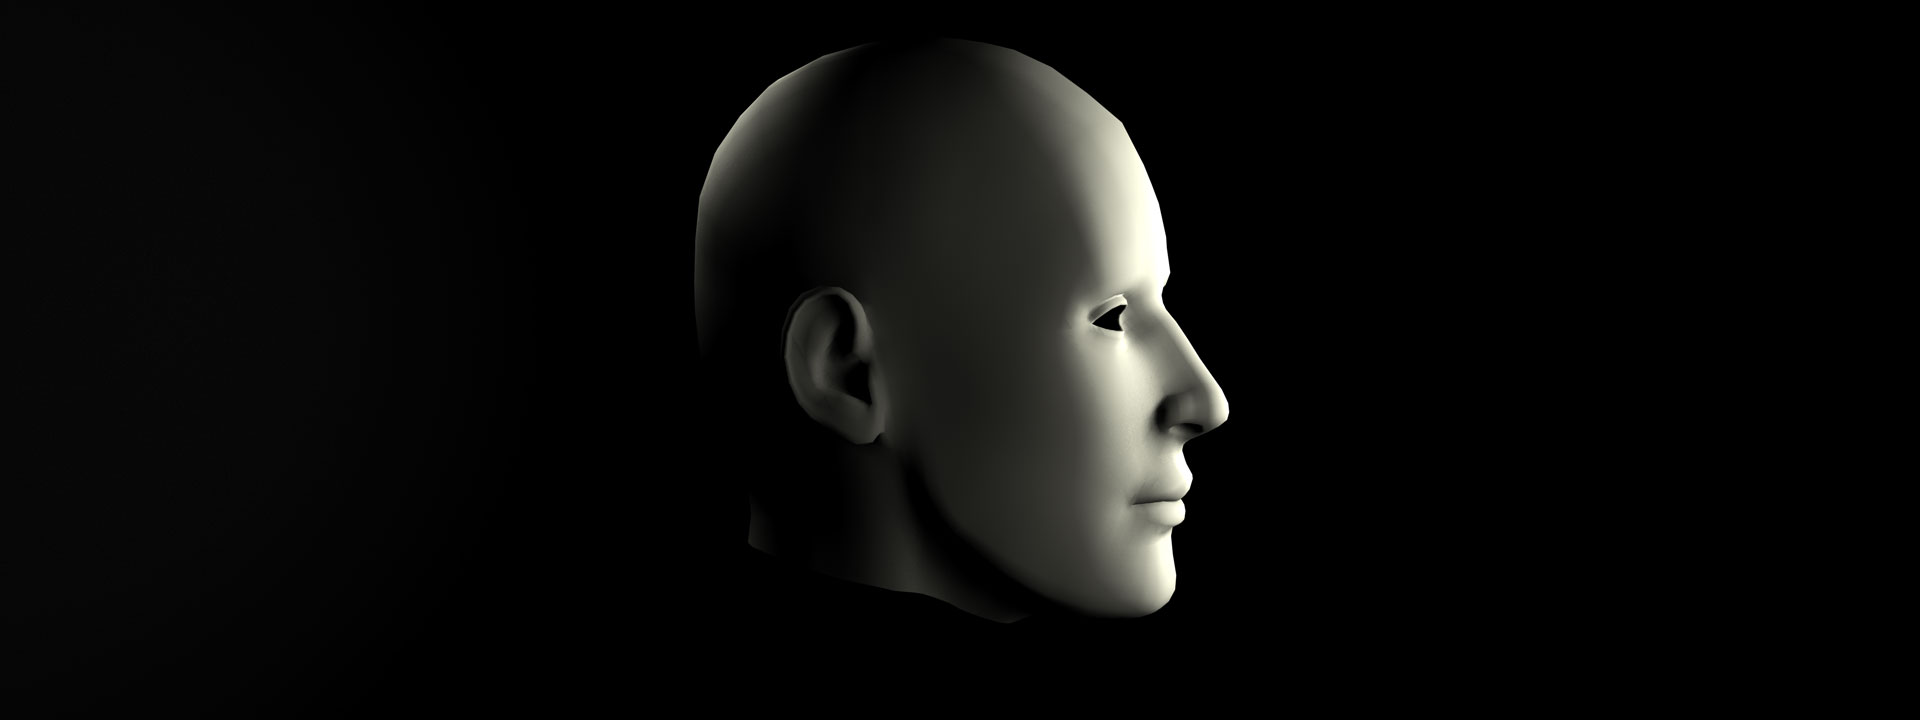
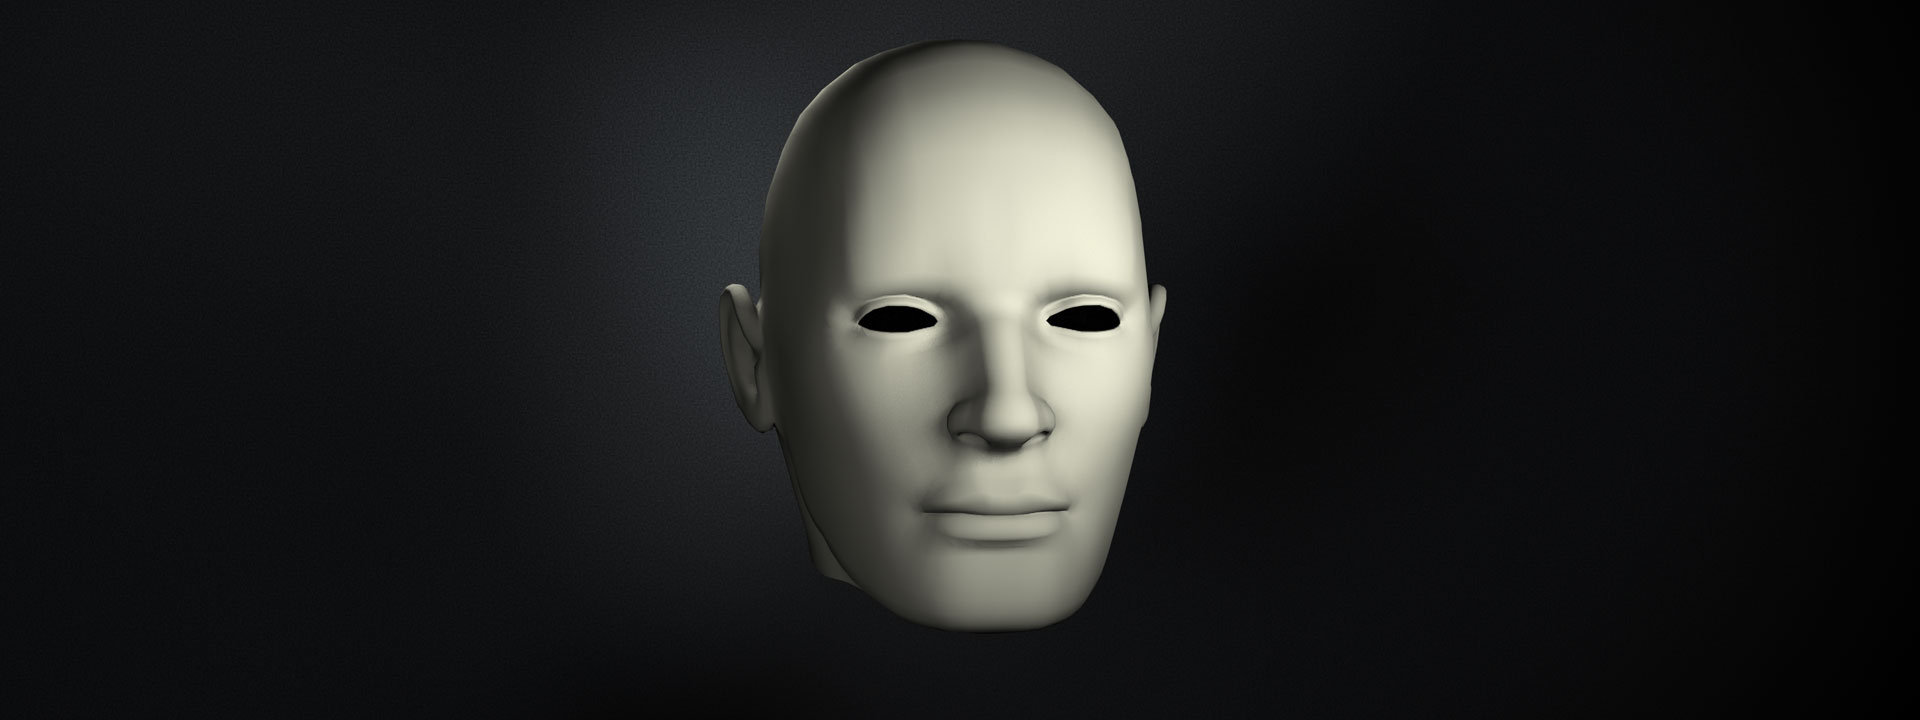
In this setup, the shadow of the key light extends to the lower curve of the cheek, while still being relatively short. Closed-loop lighting is a variant where the nose shadow follows the underside of the cheek until the area of the face which is not lit.
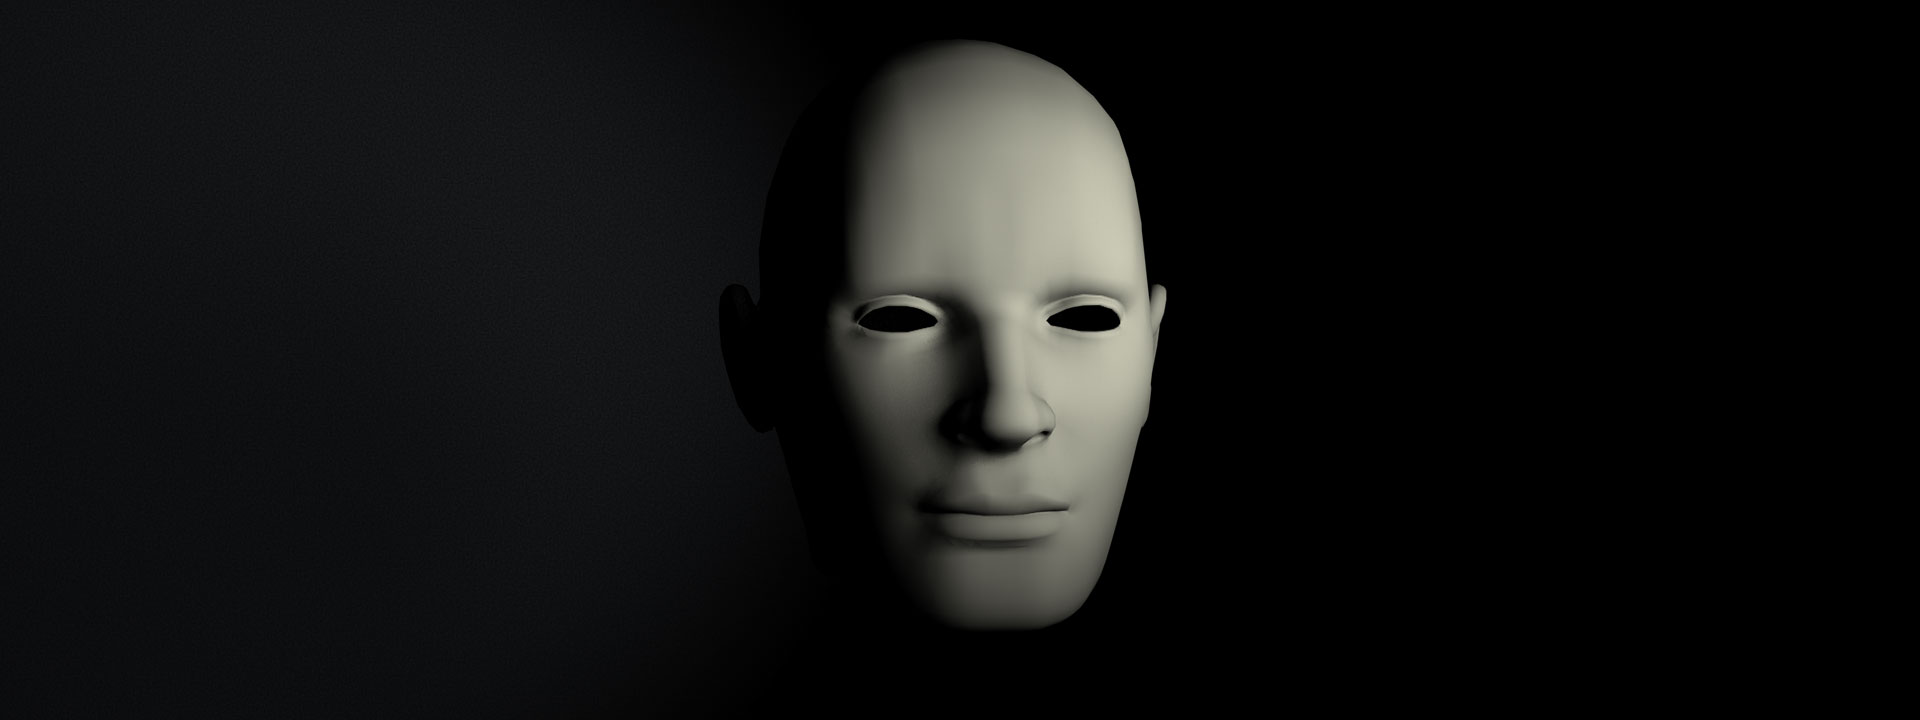
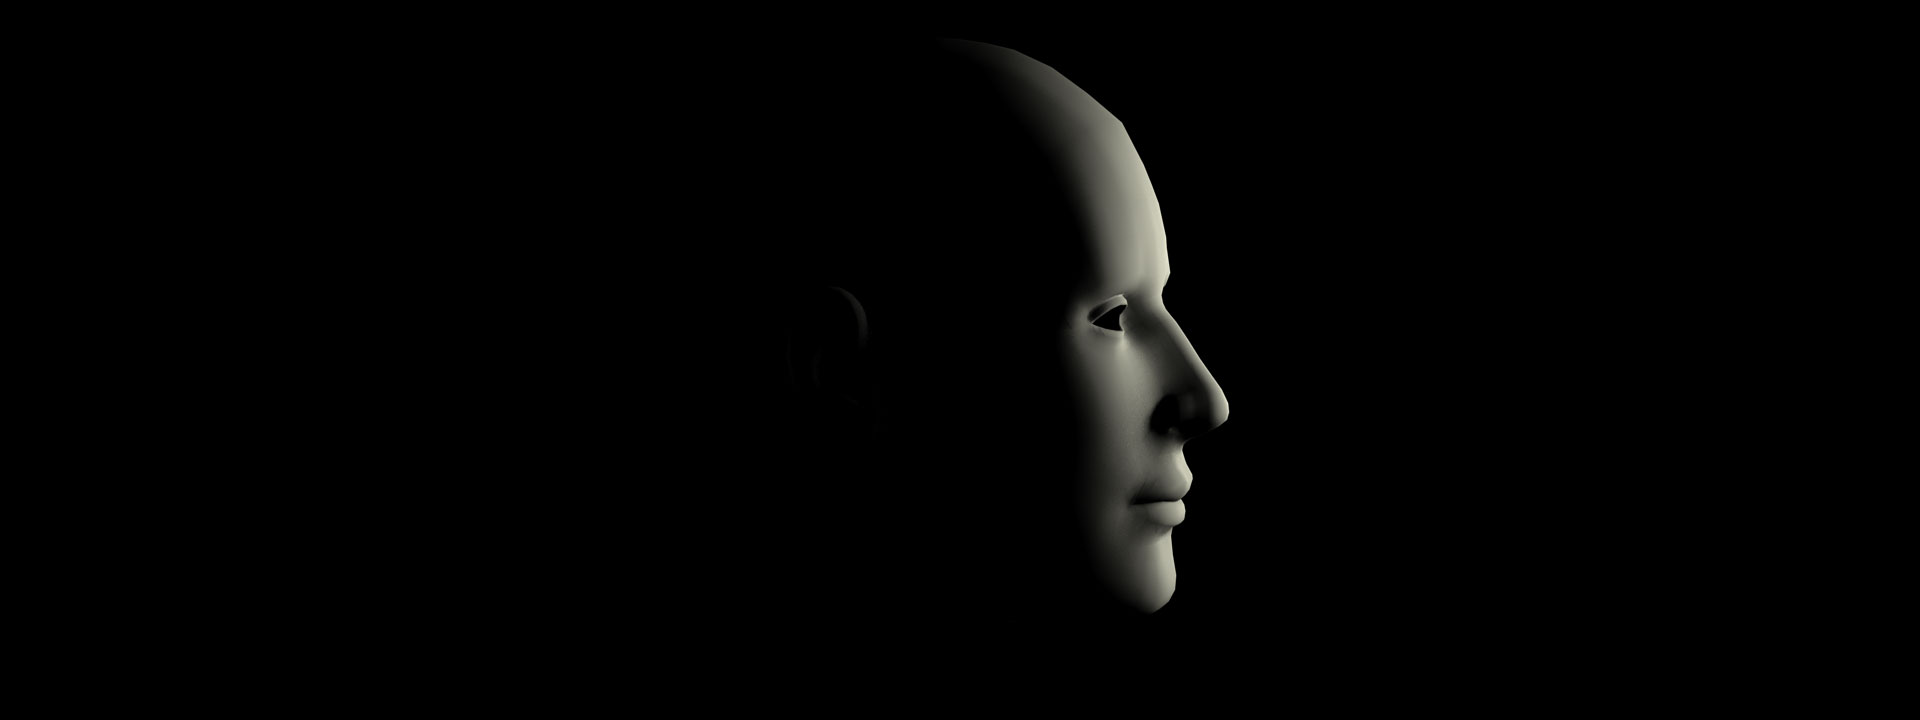
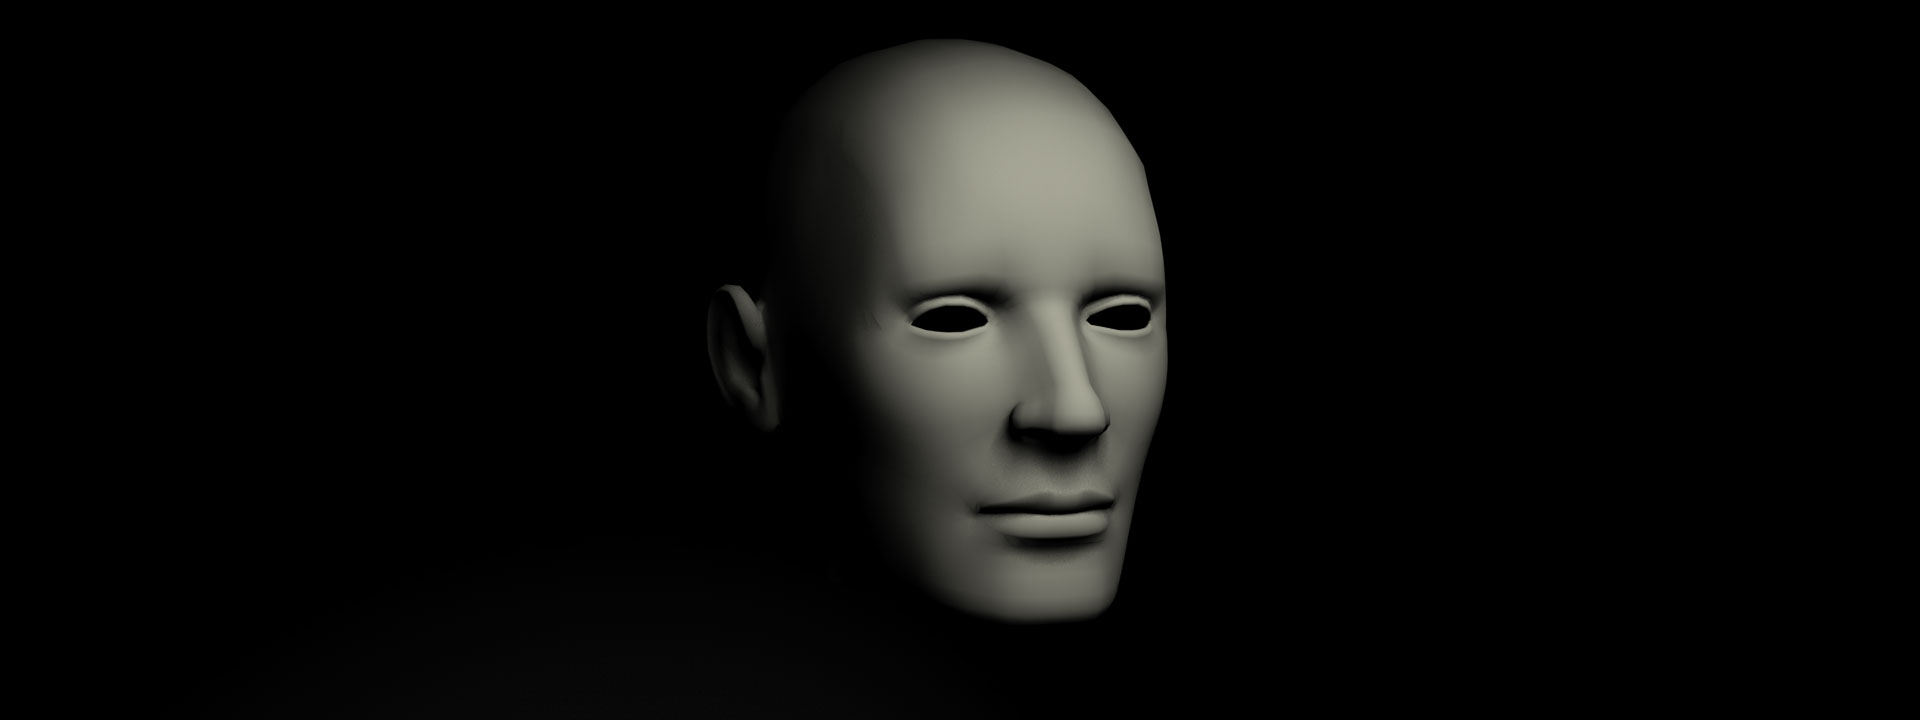
This dramatic type of lighting is used more often without a fill light or with a weak fill light to accentuate the constrast between highlights and shadows. It is used more often for men than women, since men are more apt to appreciate images in which they appear “dark”.
Characterized by:
Long shadows under model's eyes, nose and chin and a triangular highlight on the cheek opposite to the key light and deep.
Also called:
45-degree lighting.
Better suited for:
Men and situations where dramatic feel is intended.
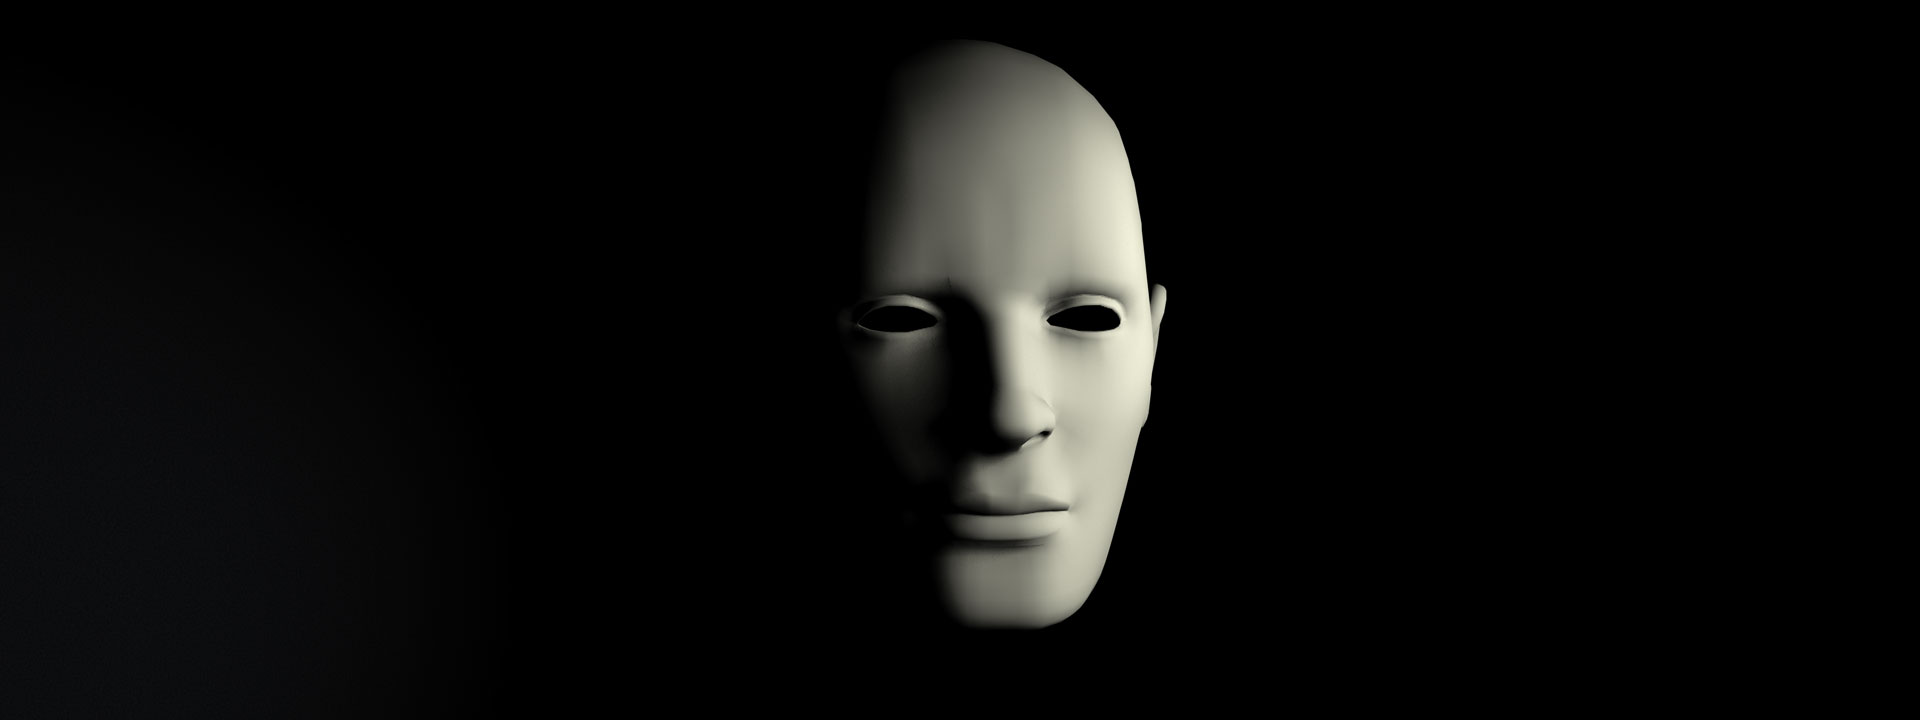
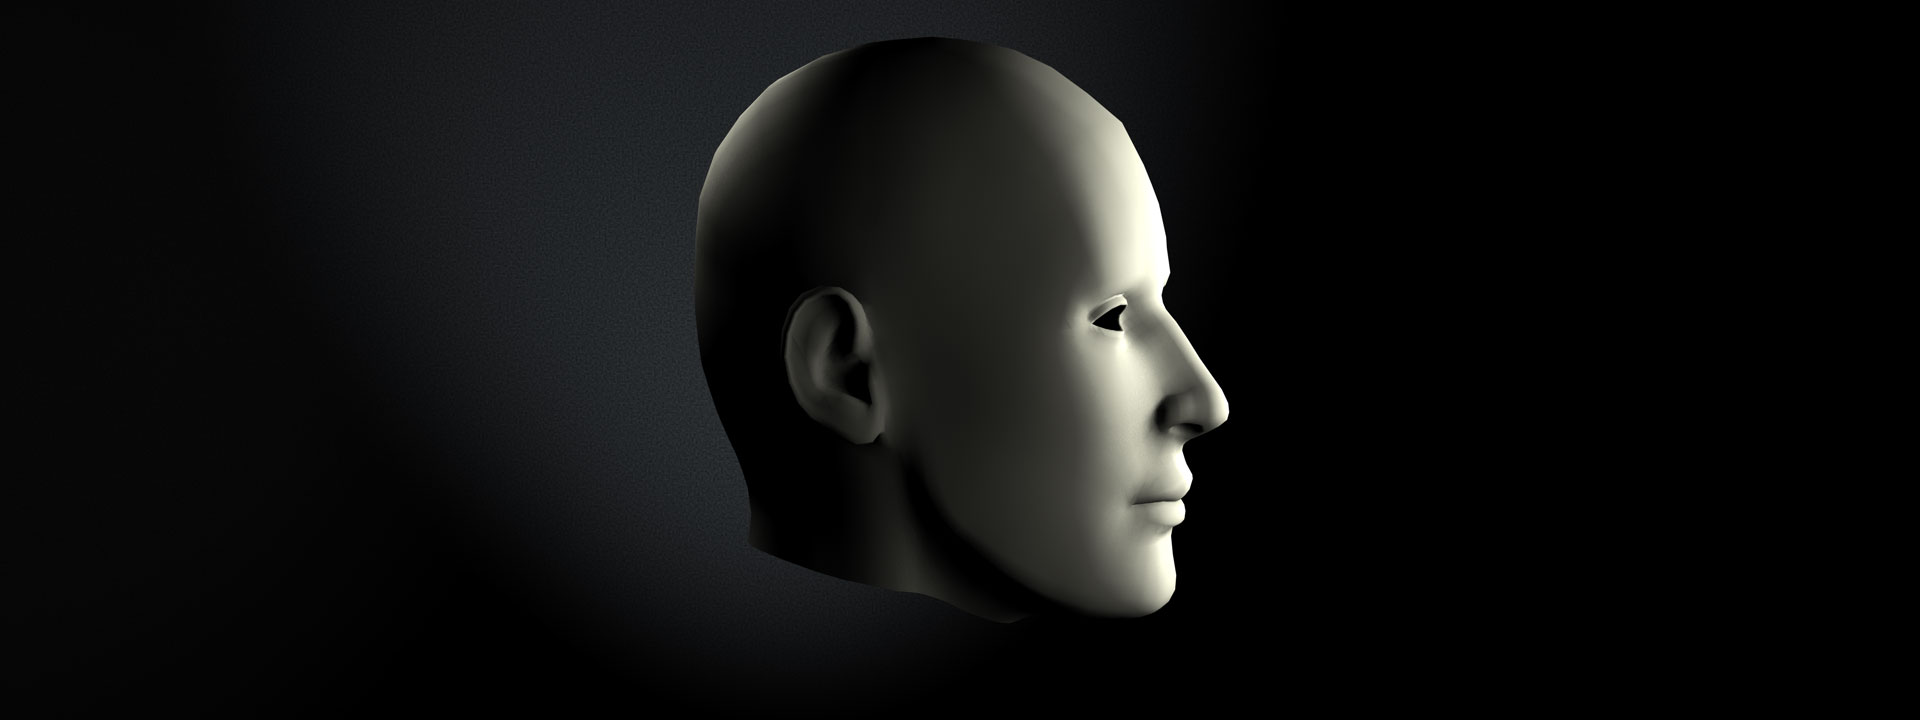
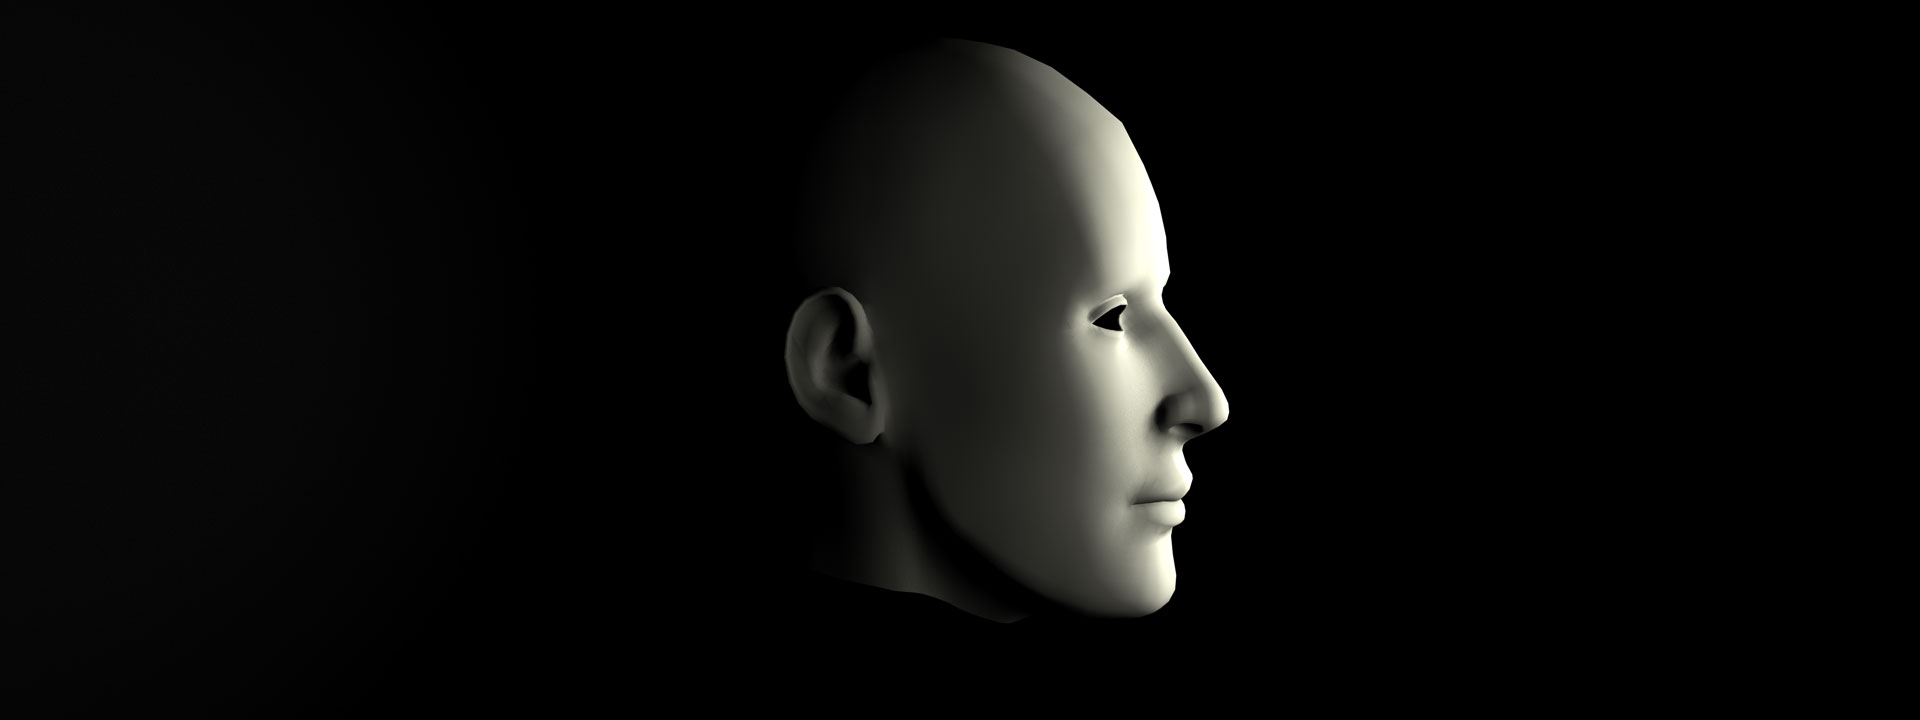
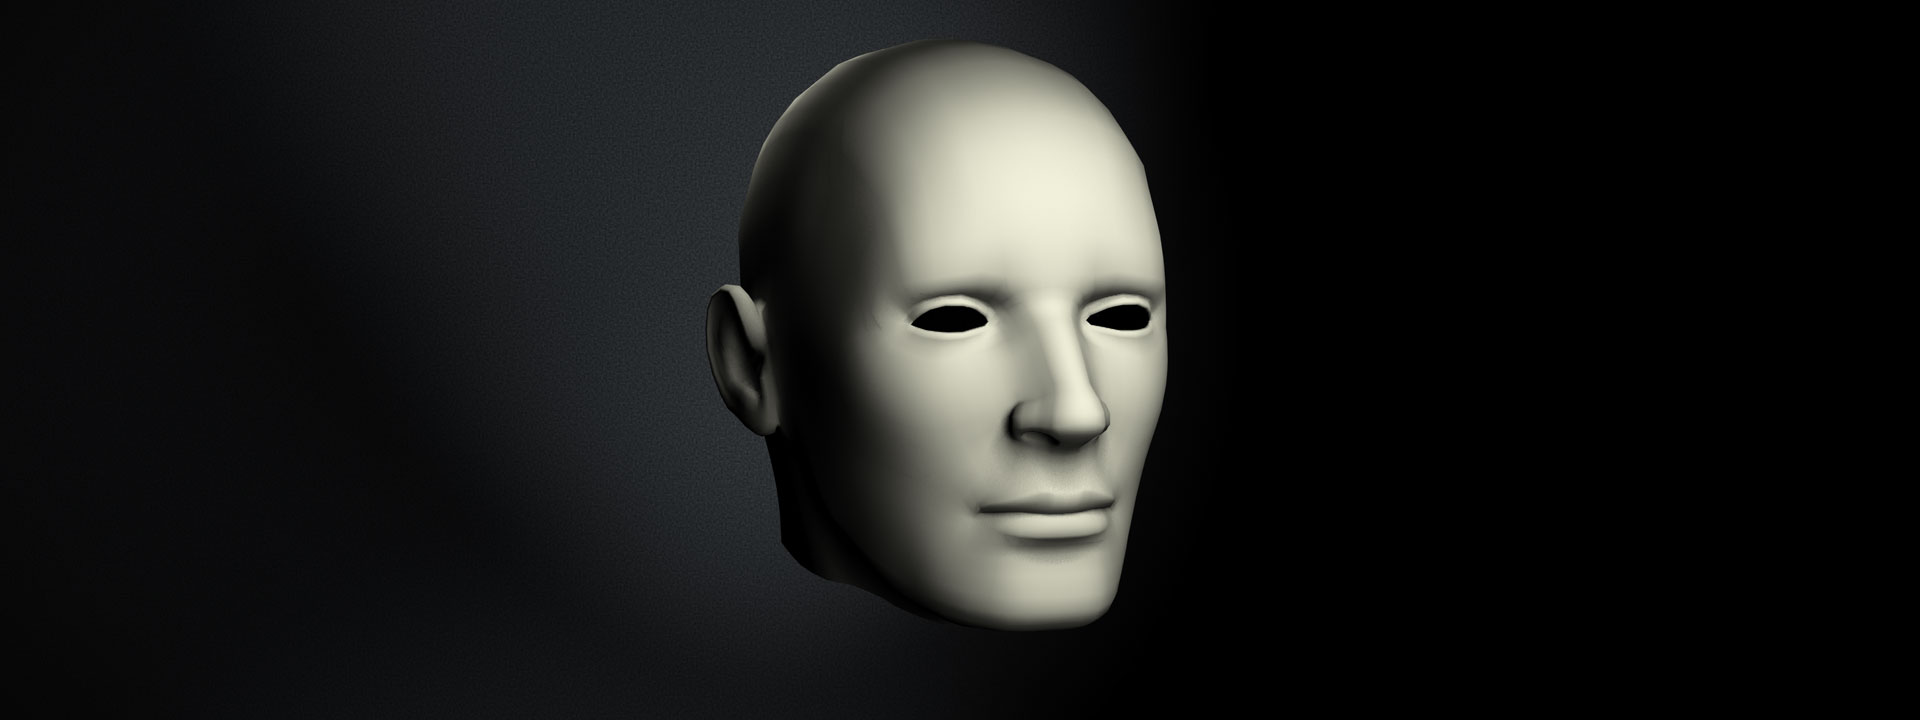
This lighting is dramatic and defining, with deep shadows and sharp contours. Although it is sometimes used with the subject's head turned 90° from the camera lens, the position of the head is irrelevant. With subject facing the camera, the key light illuminates half of the face, shadowing the other side. Sometimes, key and fill lights are equally powered for a more symmetrical lighting, but beware that this setup is often used in low-end portraiture.
Paramount lighting is produced by placing key and fill lights exactly in front of the face. It was particularly used by Paramount Pictures in the '30s and '40s, which explains the name.
Characterized by:
A butterfly-shaped shadow under the subject's nose.
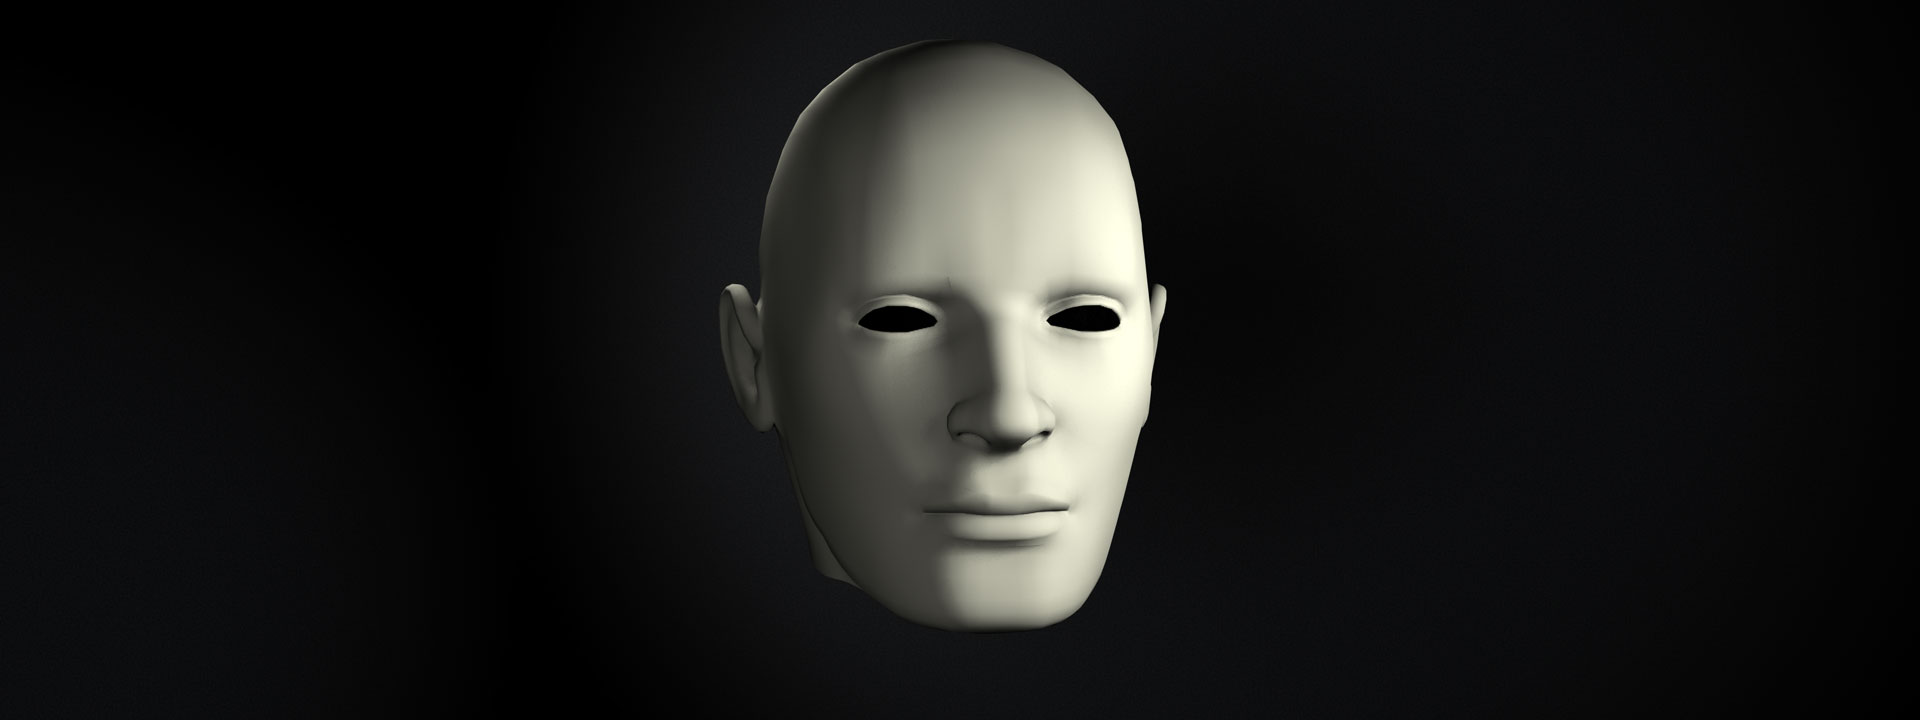
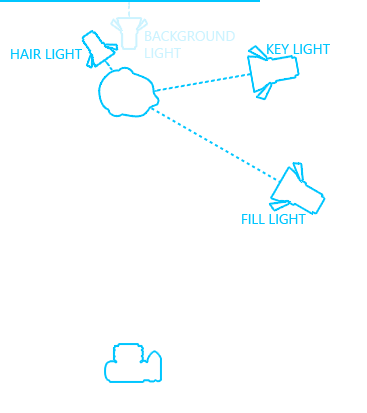
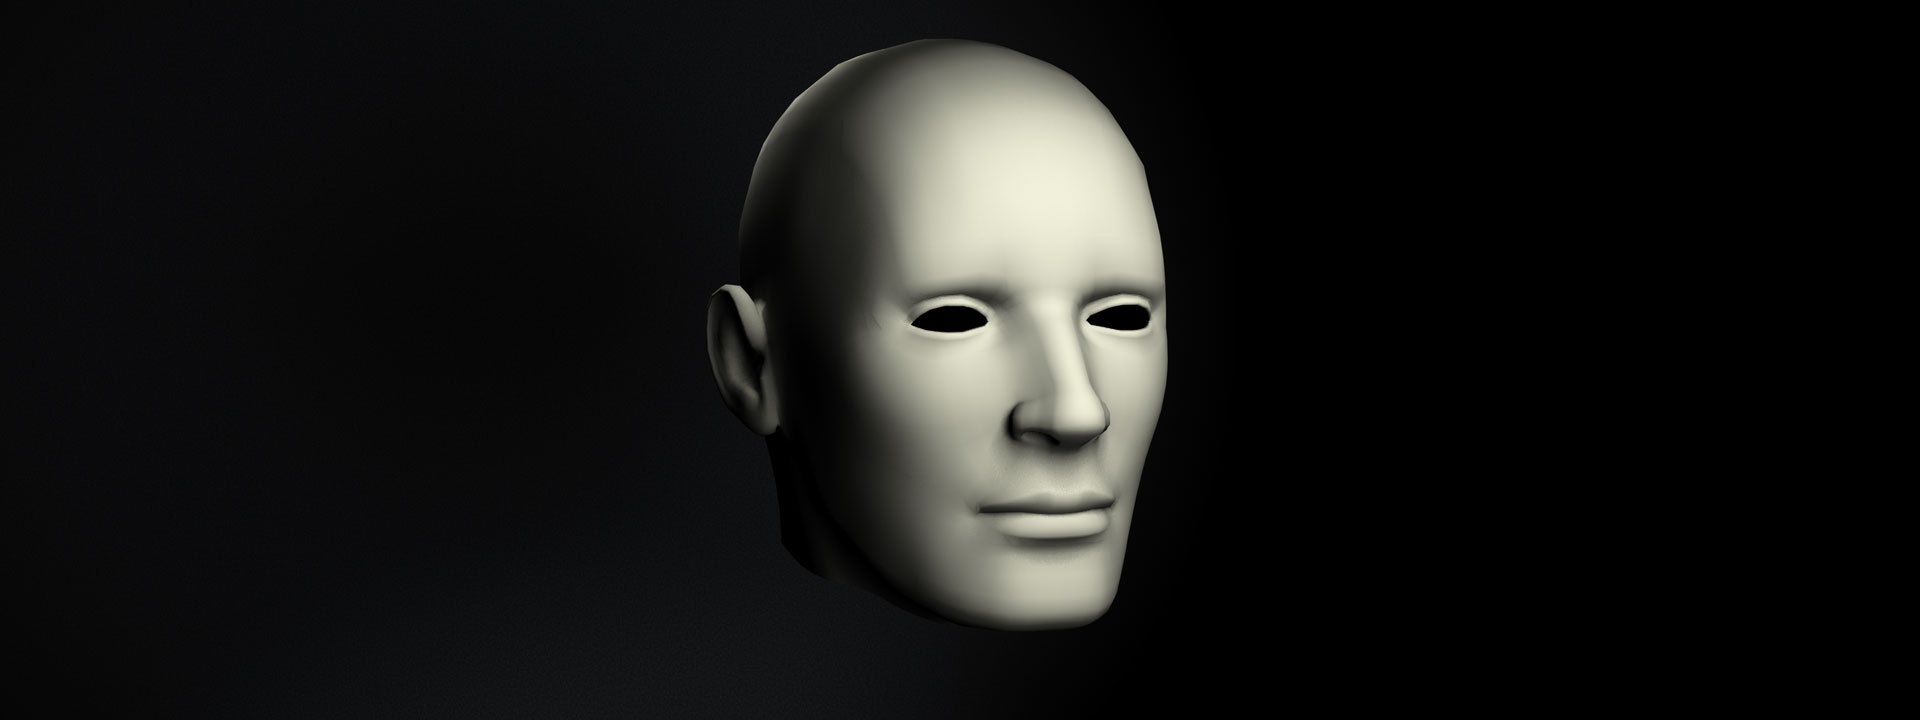
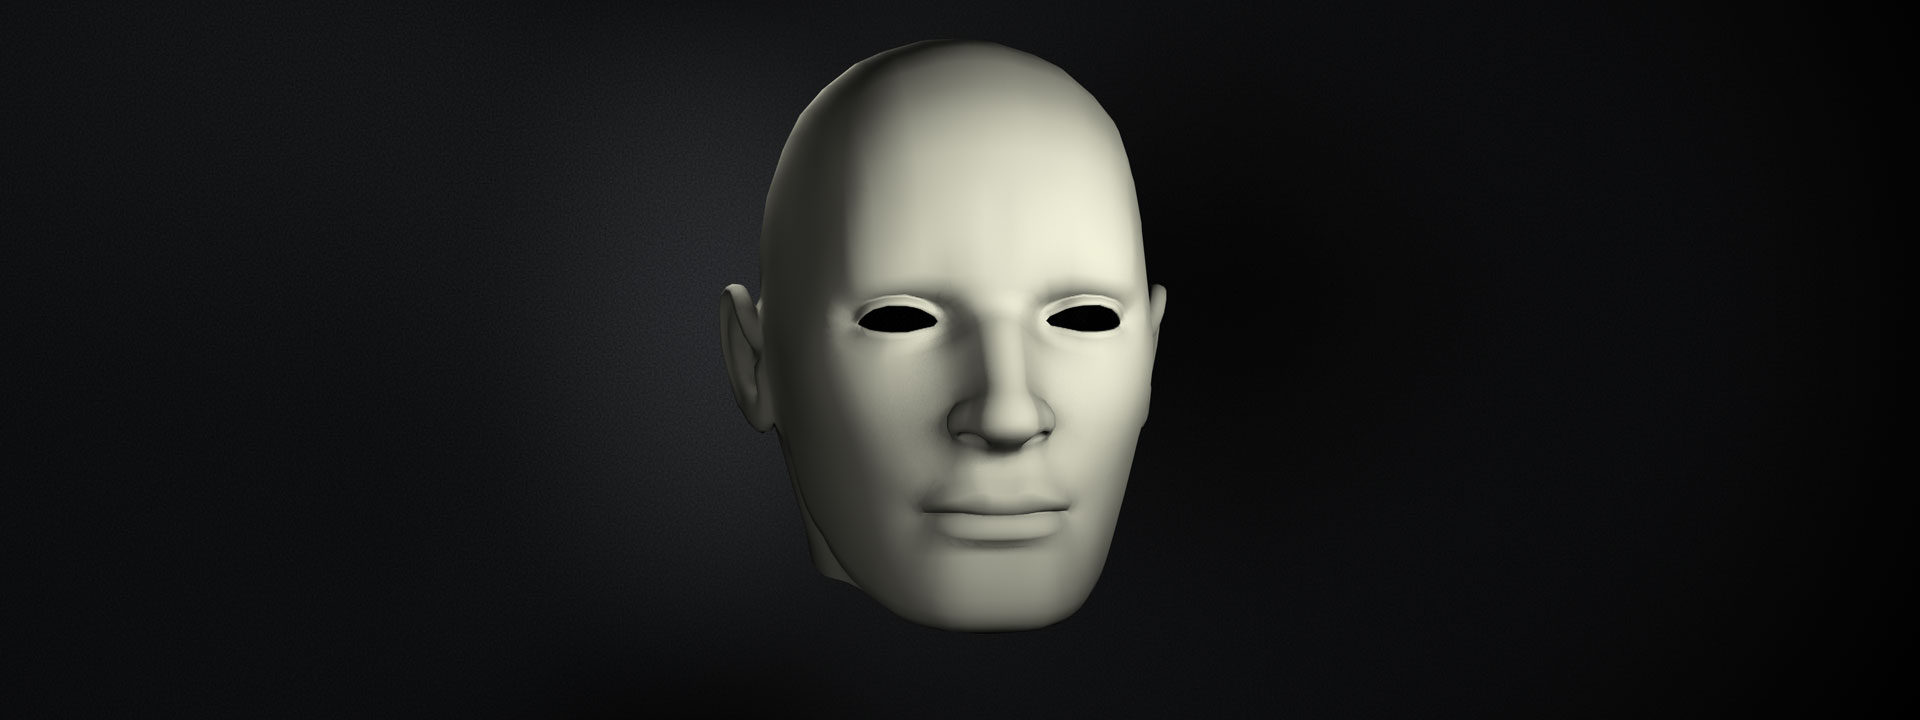
 Key, fill, and hair
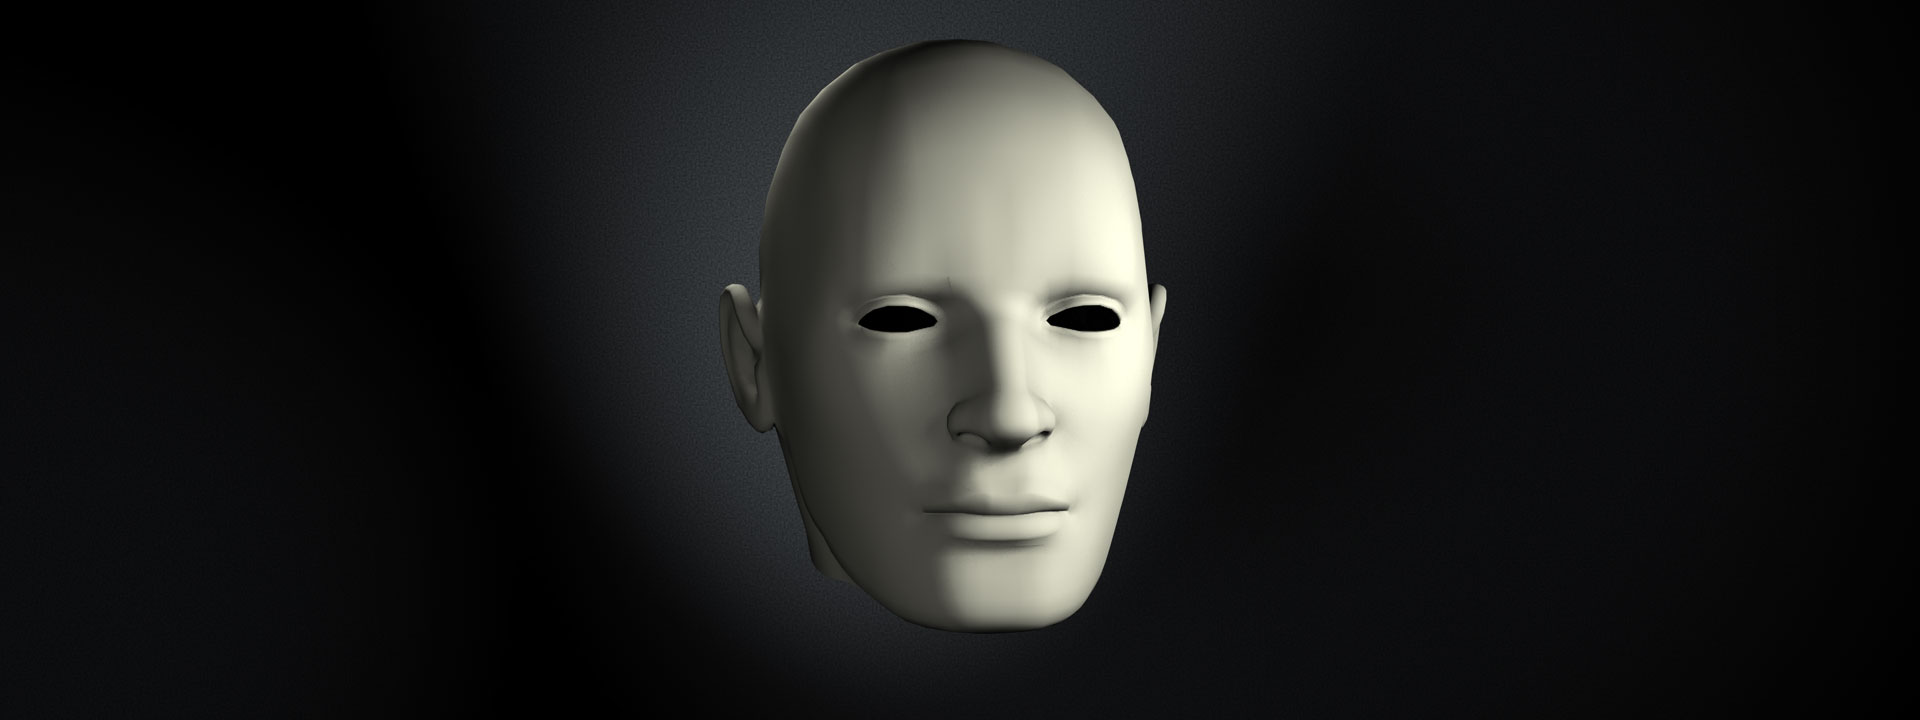
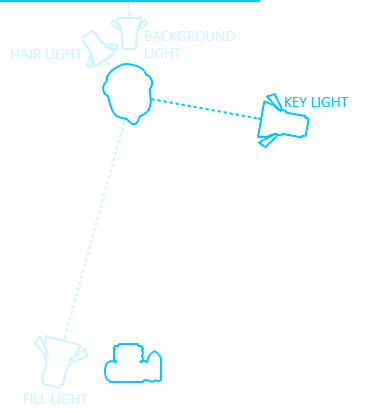
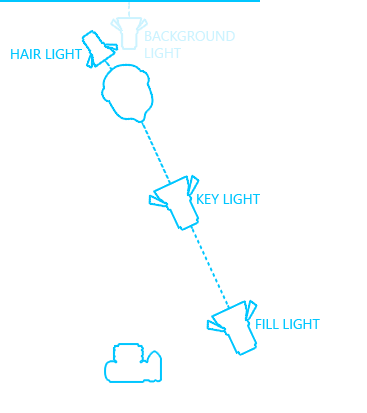
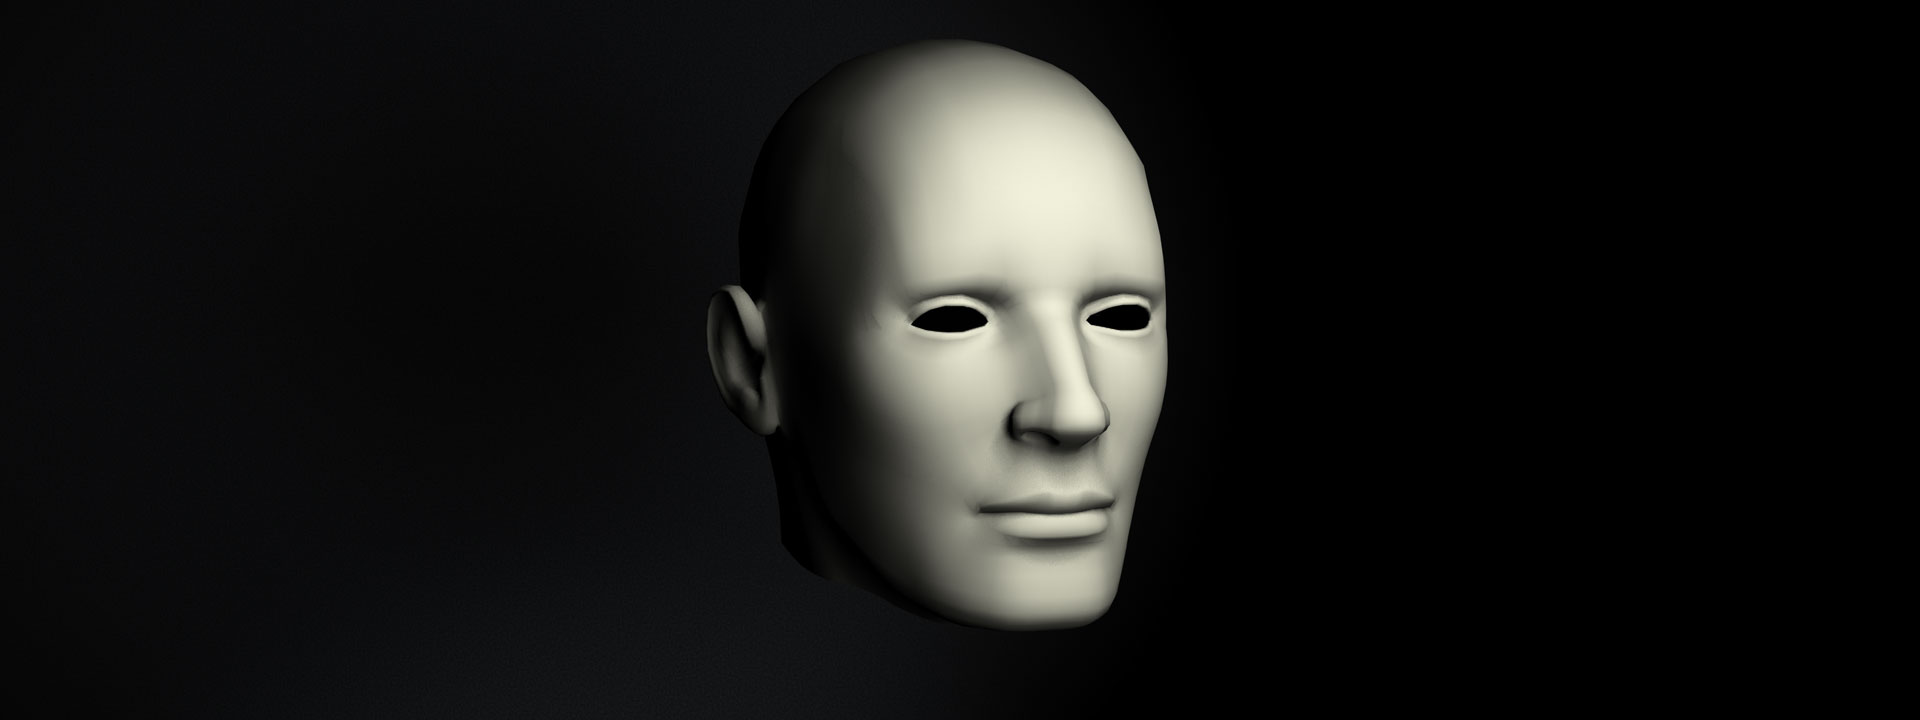
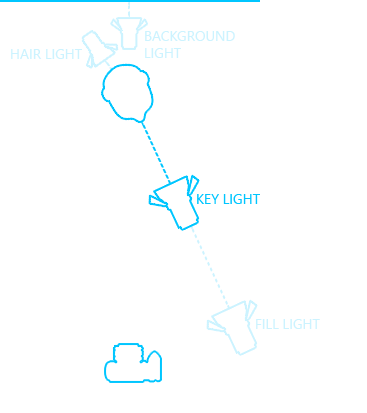
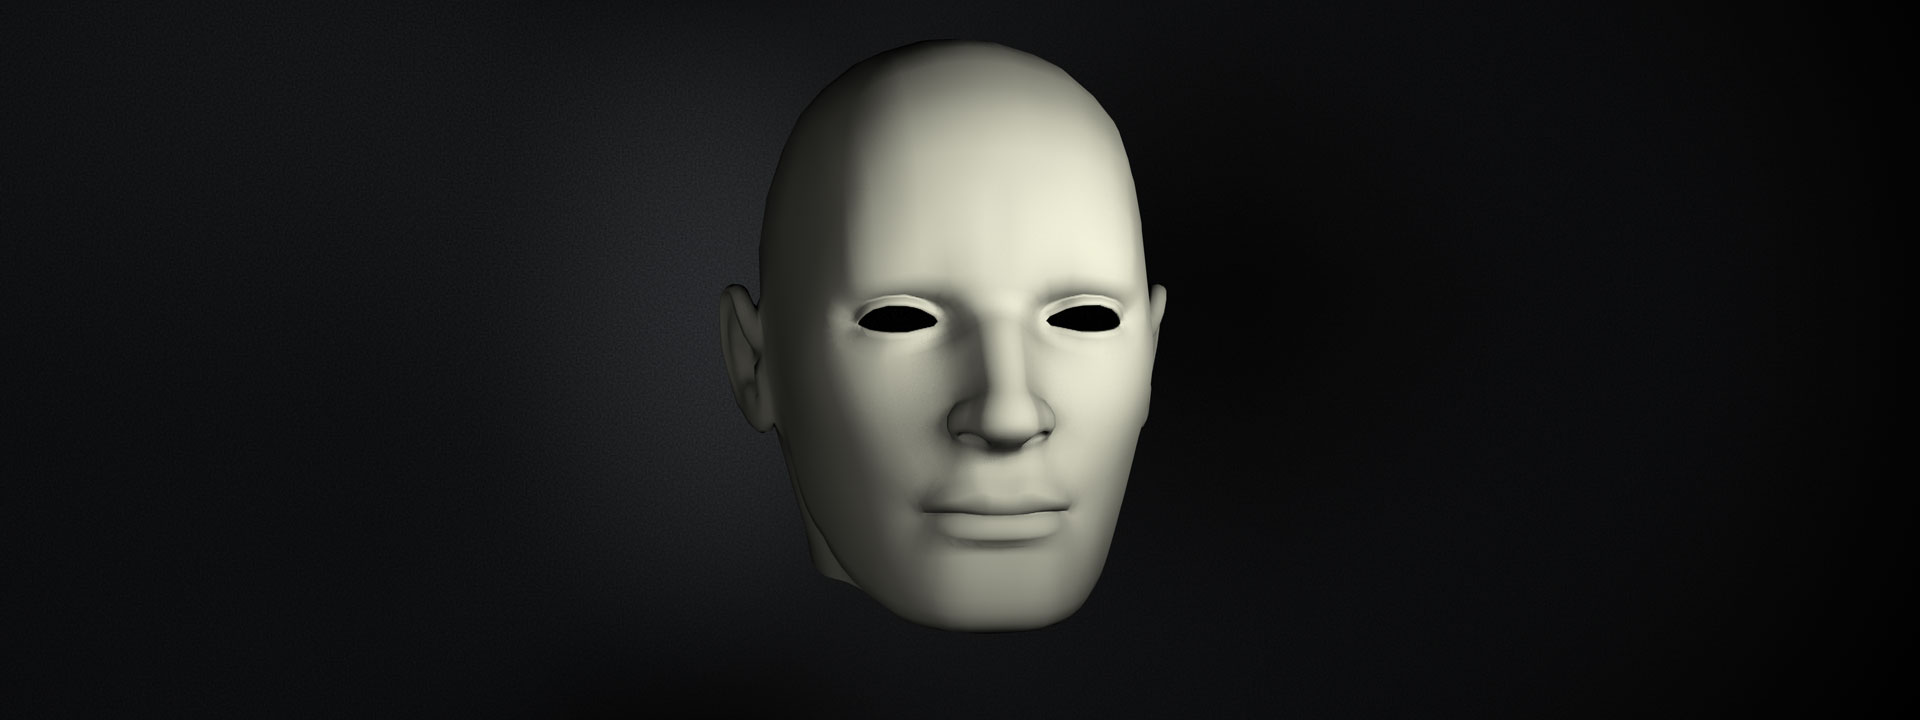
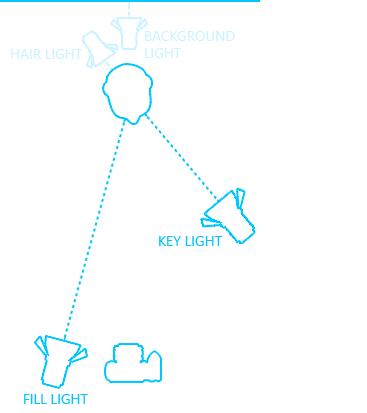
 Key and fill only
 Key only